Both of my kids went on their first camping trips rather early: aged 8 weeks and 5 weeks old. Since then we have done all types of camping: Car camping, boat camping, river camping, no-tent camping, backpacking, and even drag-gear-up-to-the-top-of-the-property-by-ATV camping. One thing it all has in common: It was always a memorable experience.
When my oldest daughter was 8 years old, she wrote an essay about our family camping adventures, starting the piece with, “One of my favorite things is when Mom or Dad says ‘Let’s go camping!' Then we pack up and go!"
Just like there is no right way to go on vacation, there really is no right way to go camping. Camping will always end up being a very personal experience and one that can be repeated, tweaked, or improved upon each time you go.
Here are a few things you might keep in mind as you plan for your next family camping trip.
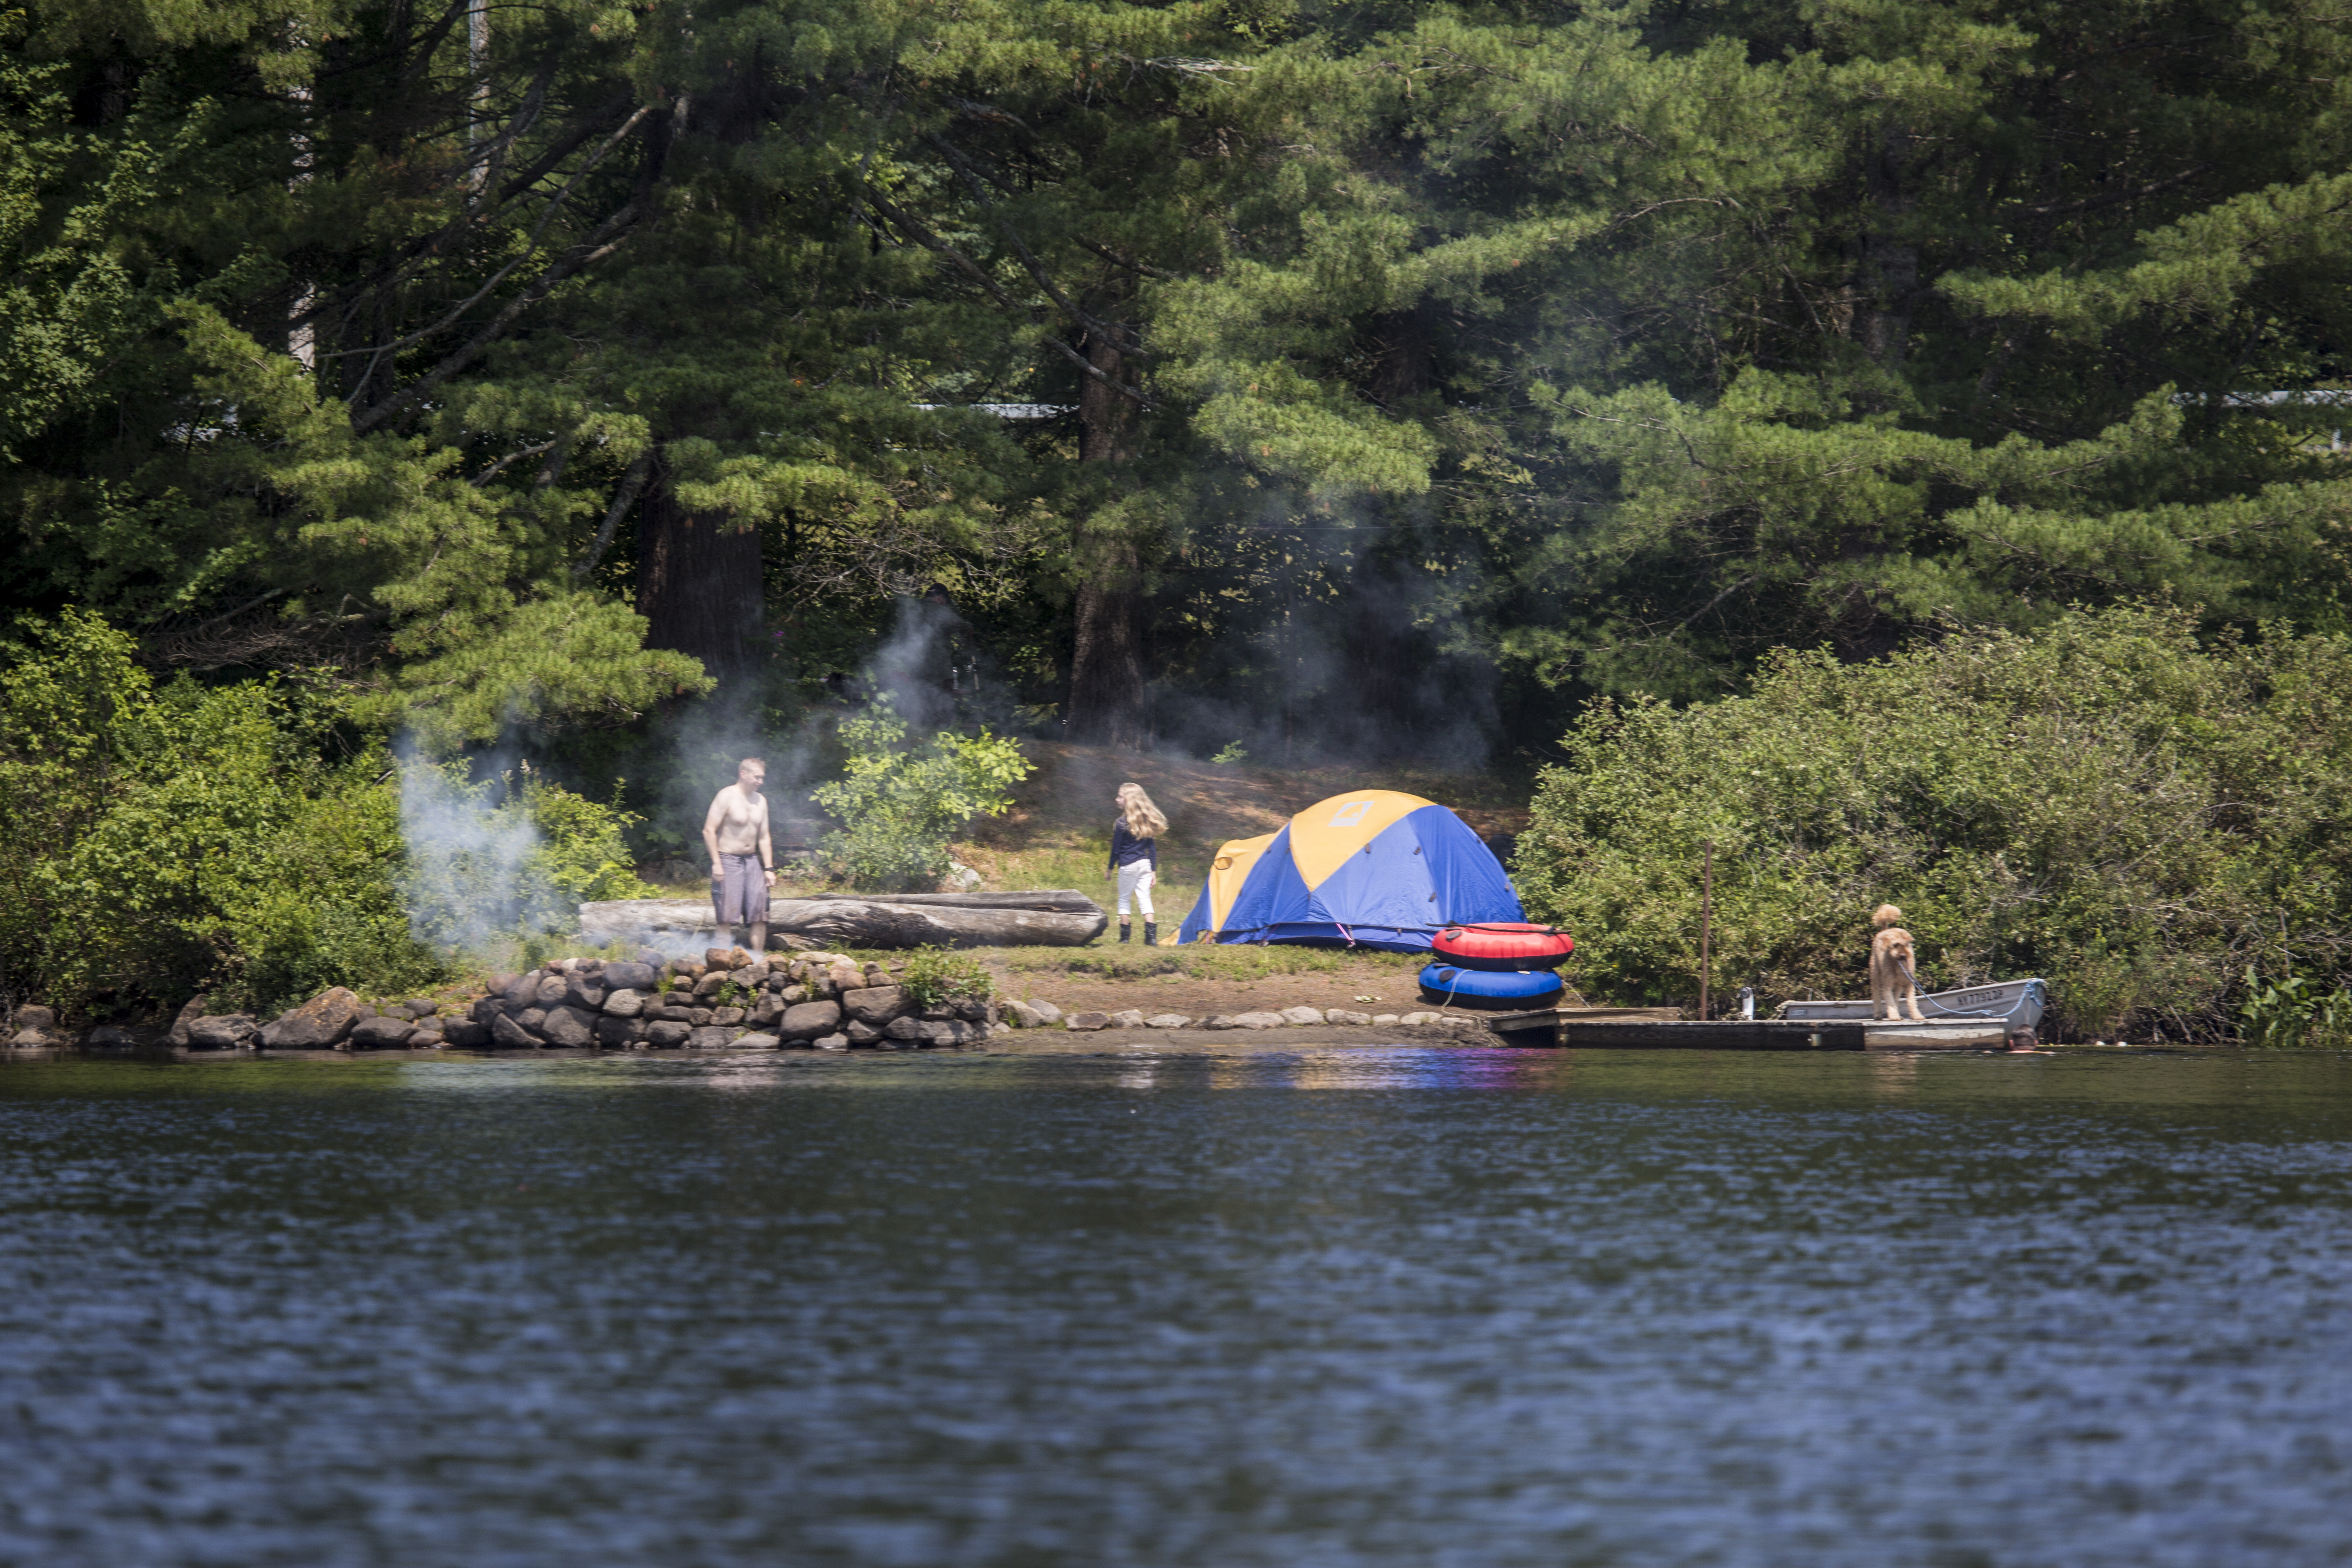
First: Where are you going and what type of camping are you doing?
These questions are pretty crucial because they pivot on what equipment you will bring and how you plan on packing it. If it’s your first time camping with your family, it might be a good idea to aim for a campground with amenities instead of a weeklong wilderness backpacking trip. If this is “not your first rodeo,” then think about the different types you are ready for: Primitive camping? Camping in a lean-to? Backpacking? It’s all good! So start planning!
Campgrounds
Here in the middle of the Adirondacks we have more than 20 great campgrounds to choose from, including state and private campgrounds. New York state campgrounds run about $20 per night while private campground costs vary. Each campground, whether state or private, differs in what’s available — some are on the water, some have playgrounds, some have beaches, some are boat-only access. Each offers a unique experience, so do a little checking first so you can choose what’s right for you and your family.
Primitive camping — Part I
If you’re OK with not having access to plumbing, then you can try out primitive camping. Many ponds and lakes have primitive sites (marked with an official DEC “Camp Here” disc).
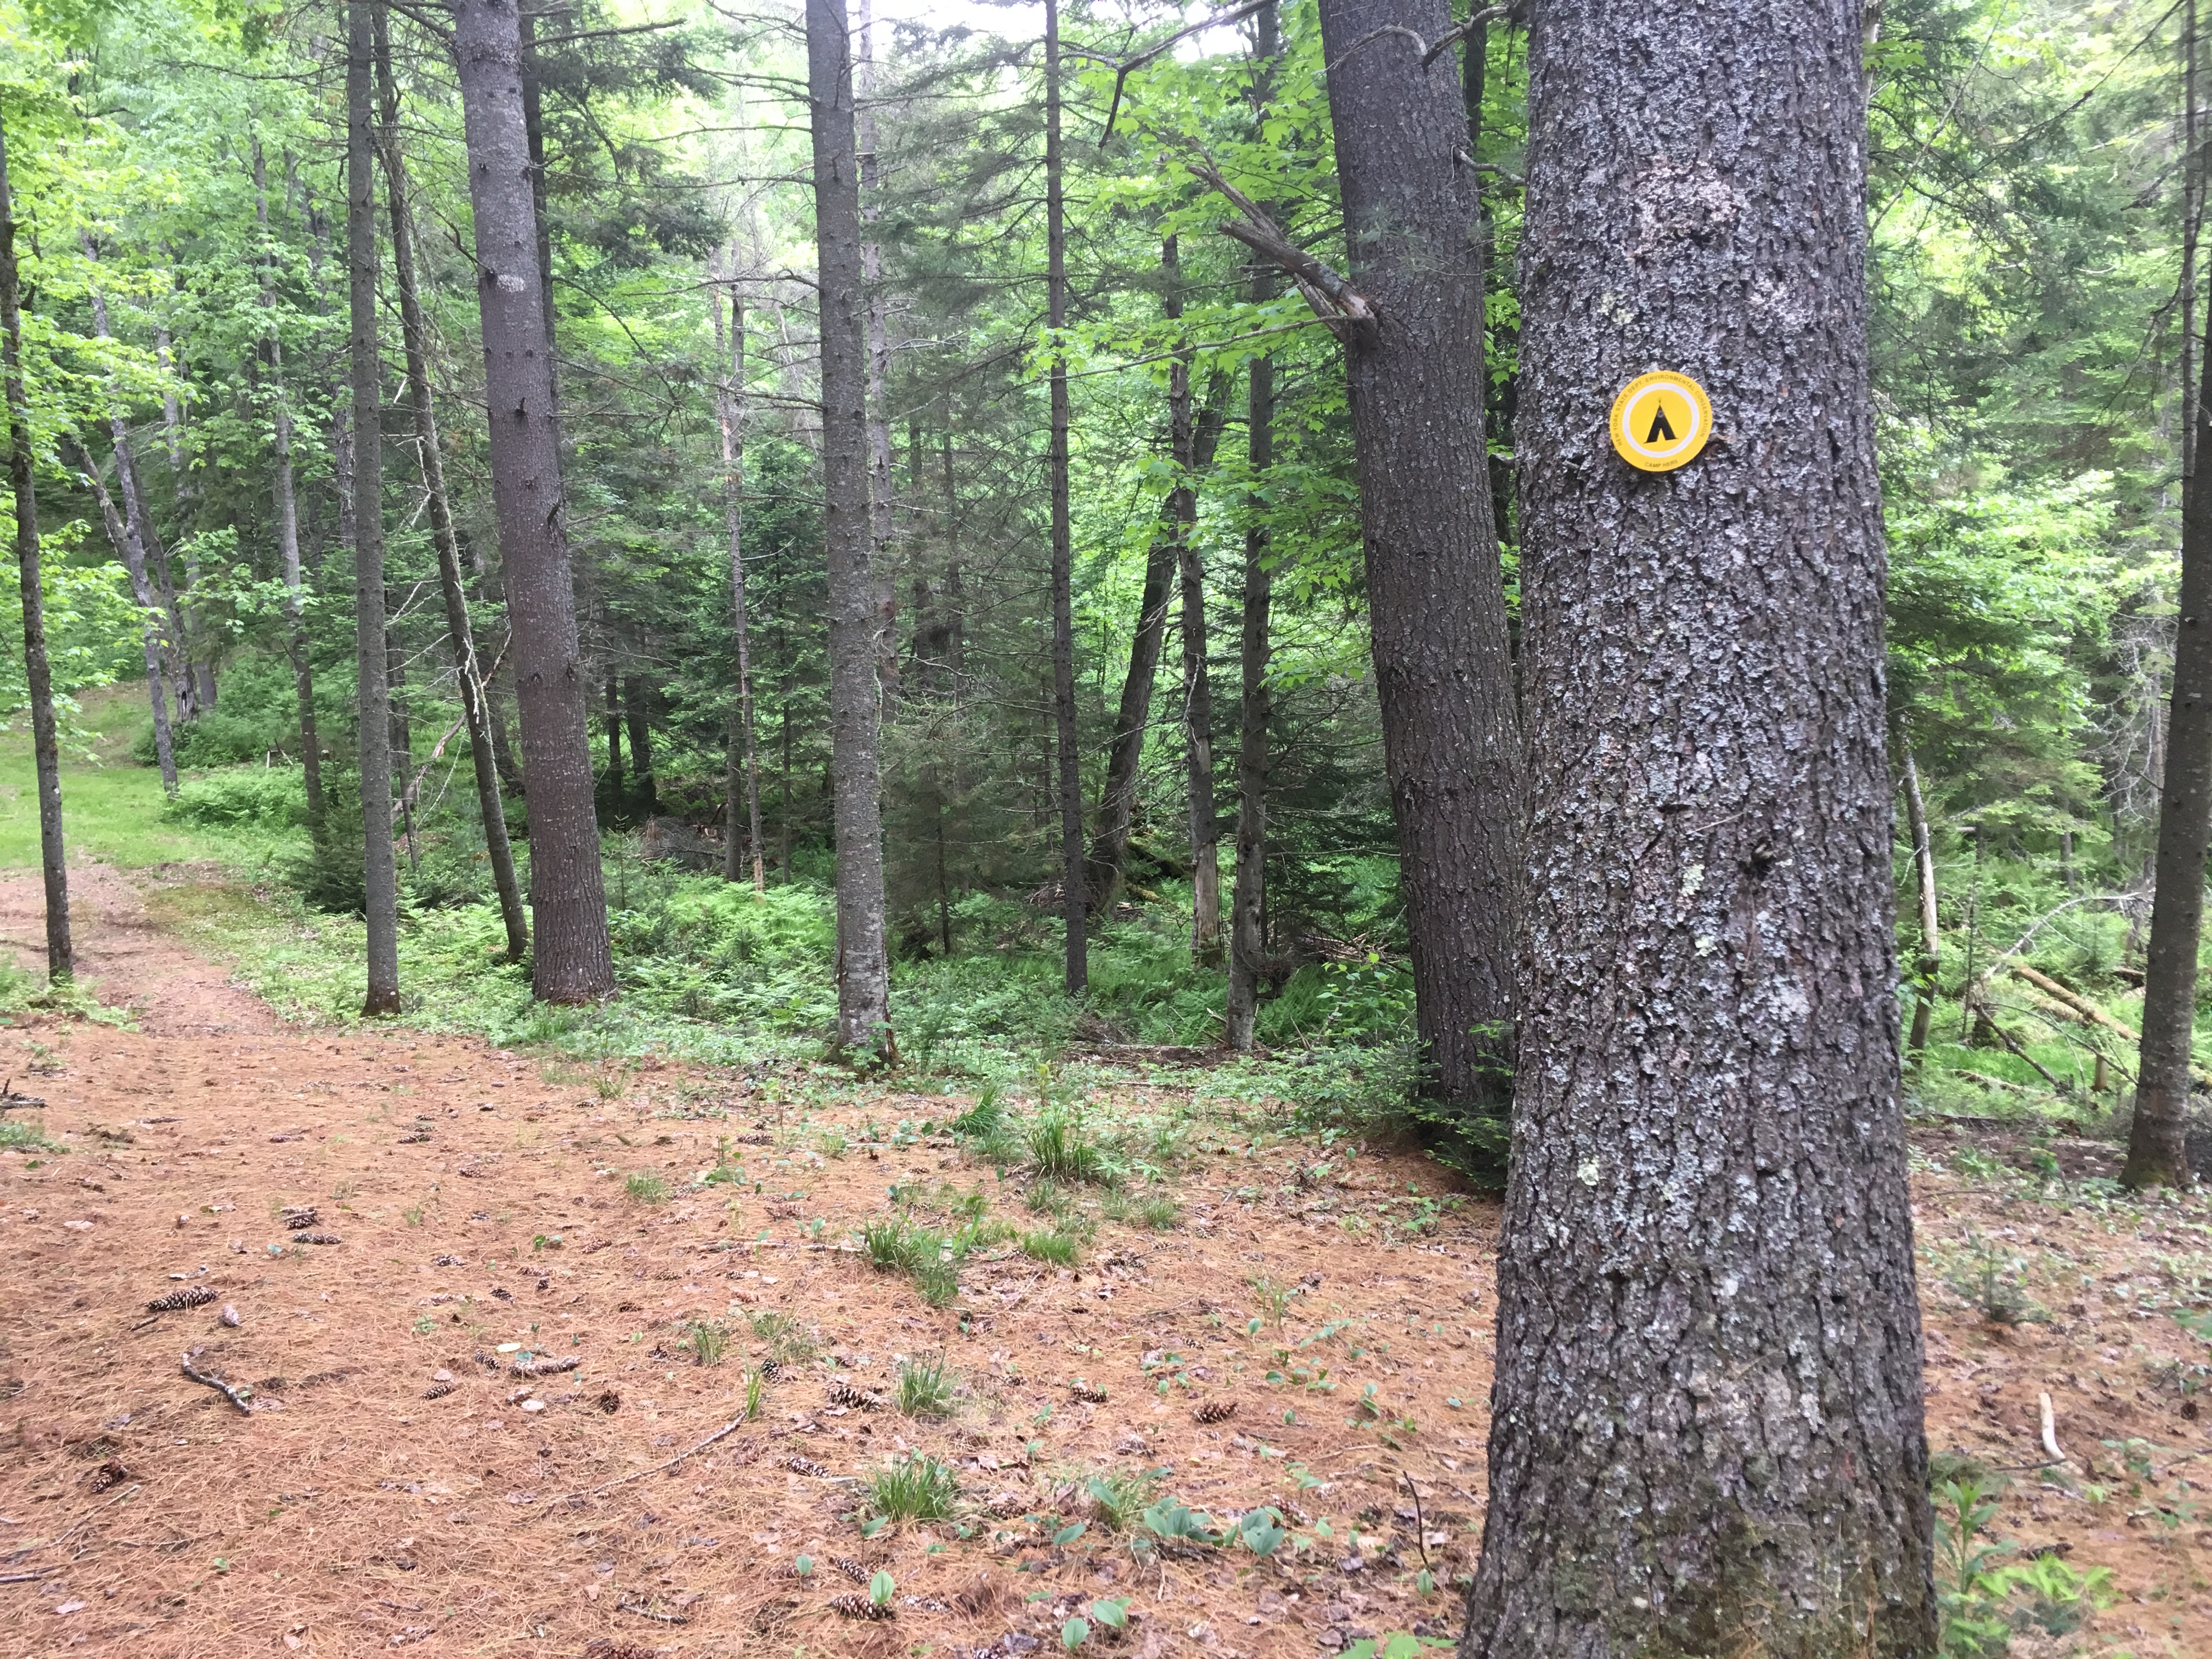
Many of these primitive sites can be accessed by car, truck, or boat. But, keep in mind these have very limited amenities, usually they might just have a picnic table, fireplace, or fire ring and privy. The biggest benefit to these sites is that they are free. The downside is that they are on a first-come, first-served basis, and on a busy summer weekend it is hard to predict what will be available. Here are some spots to check out for primitive camping: Lake Lila, Little Tupper, Cedar River Flow, and Moose River Plains. Read here about a recent camping experience by one of our writers and his dog, Wren, at Cedar River Flow.
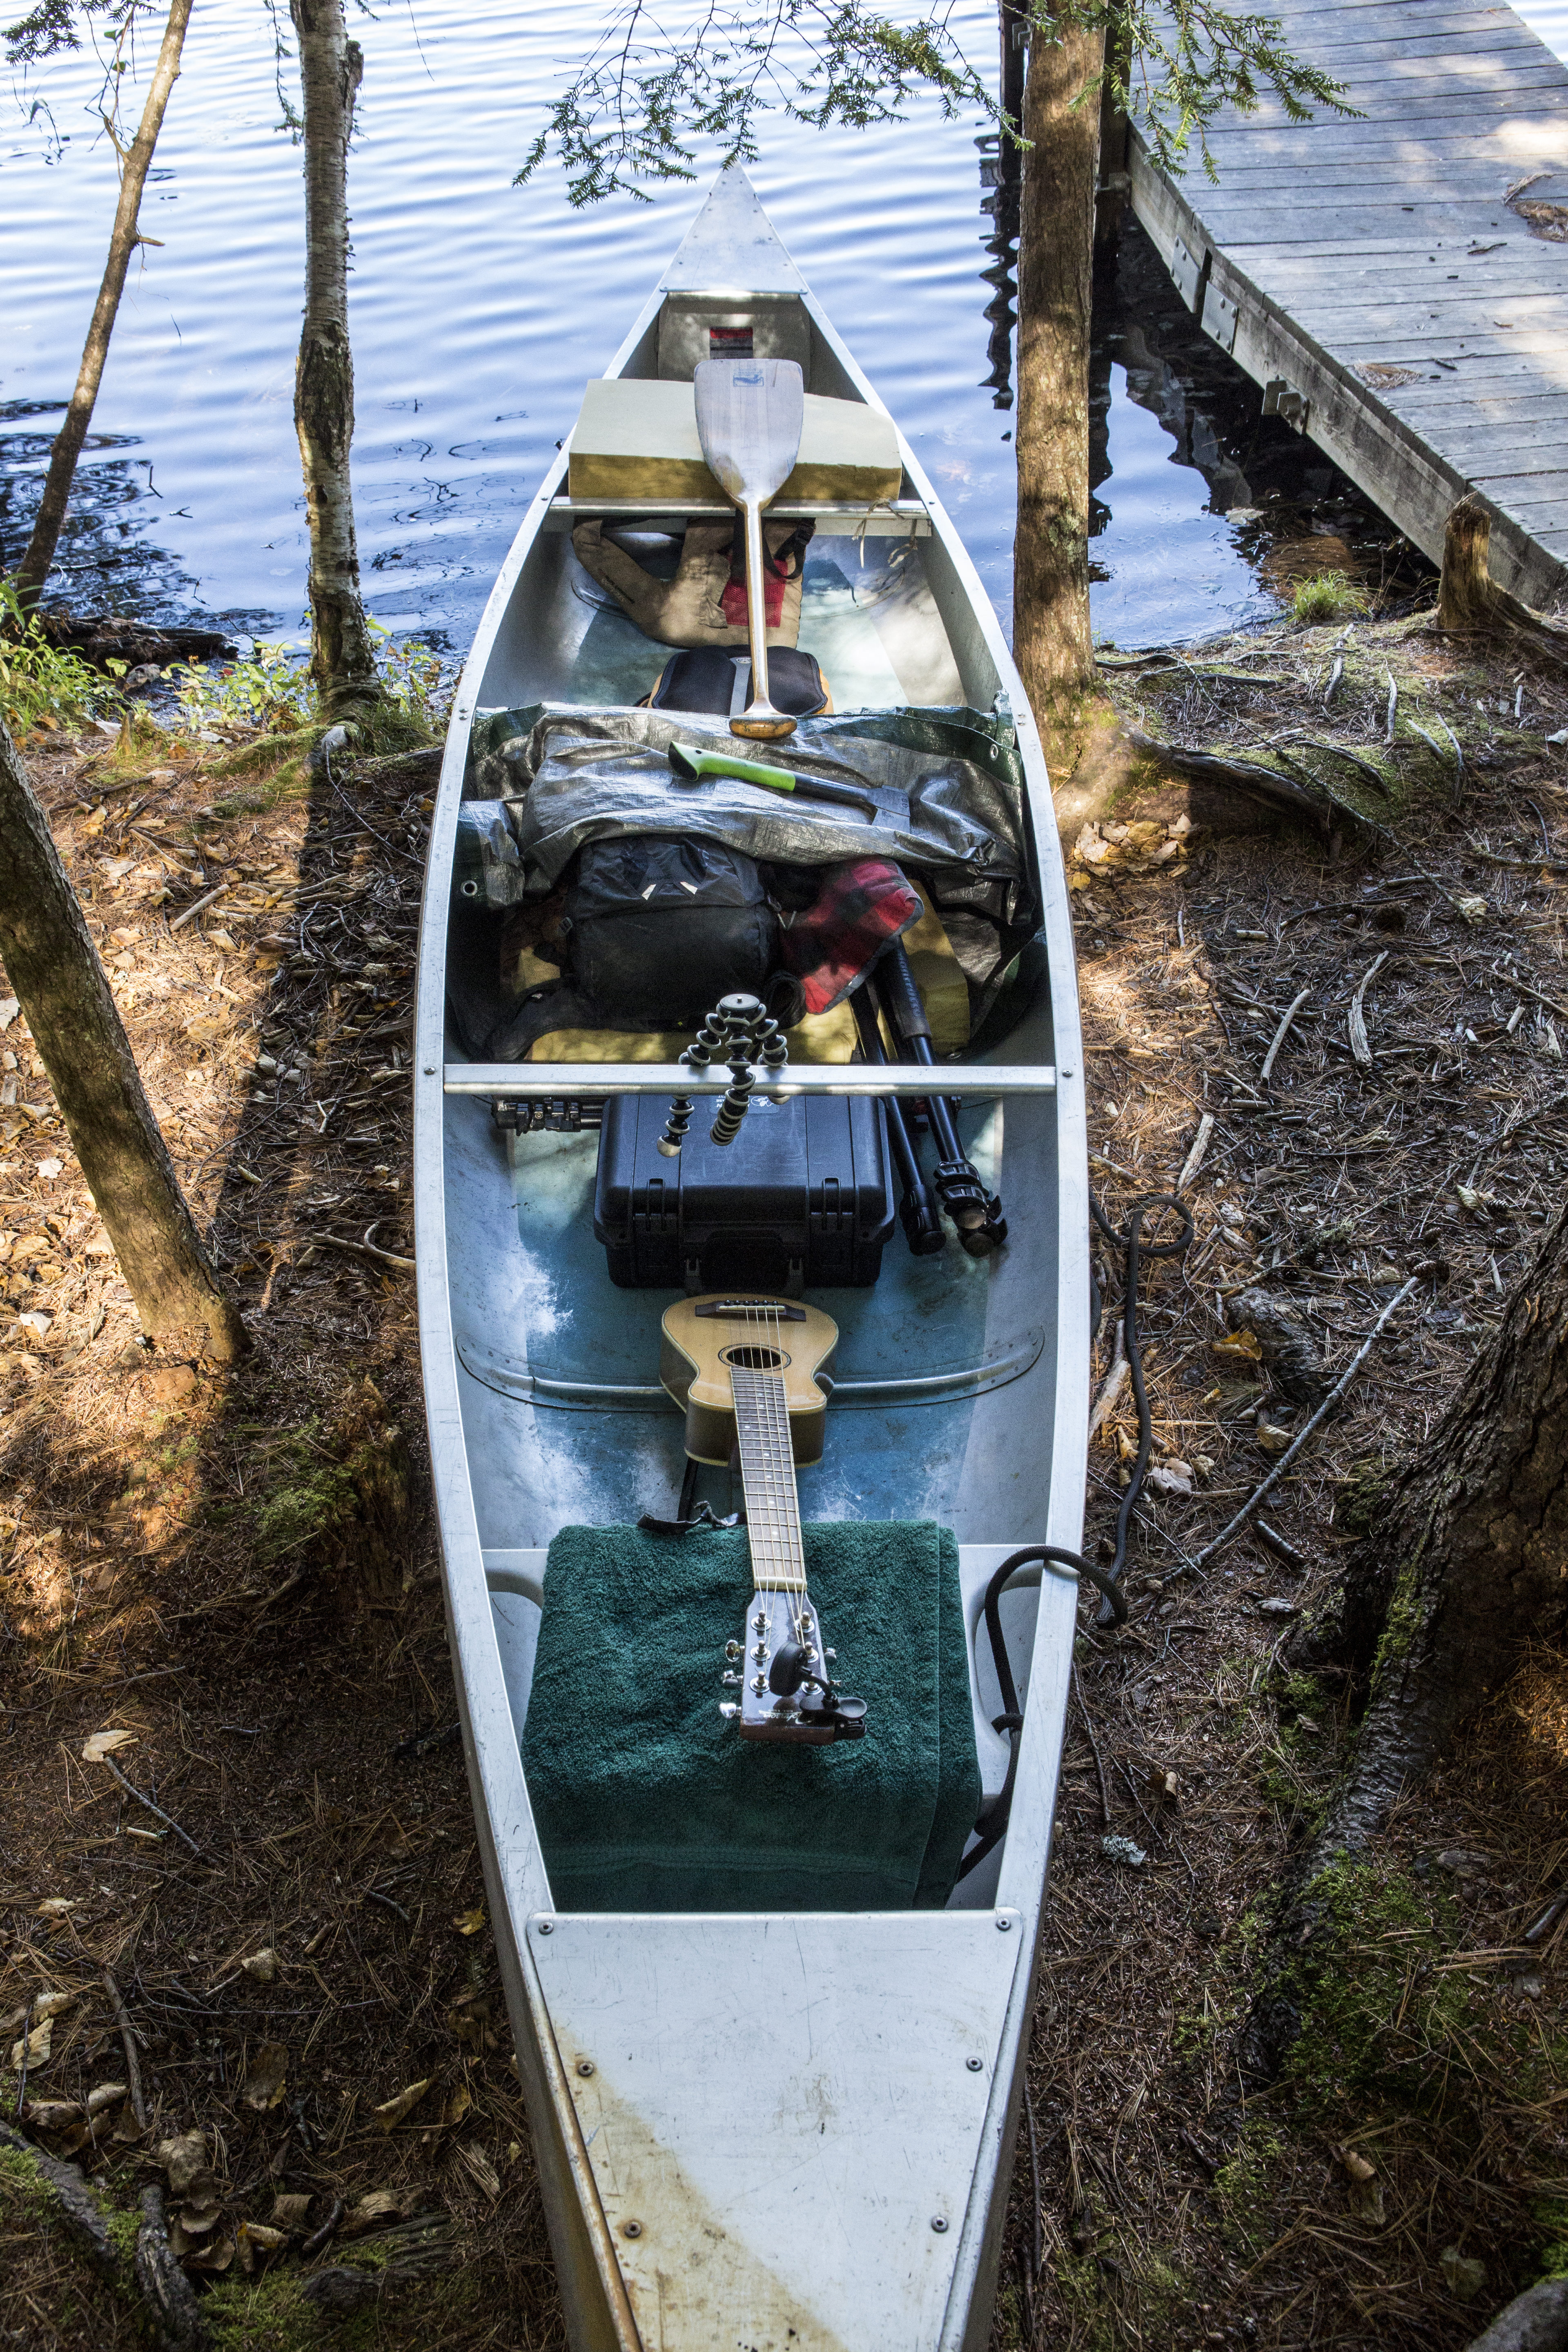
Primitive camping — Part II
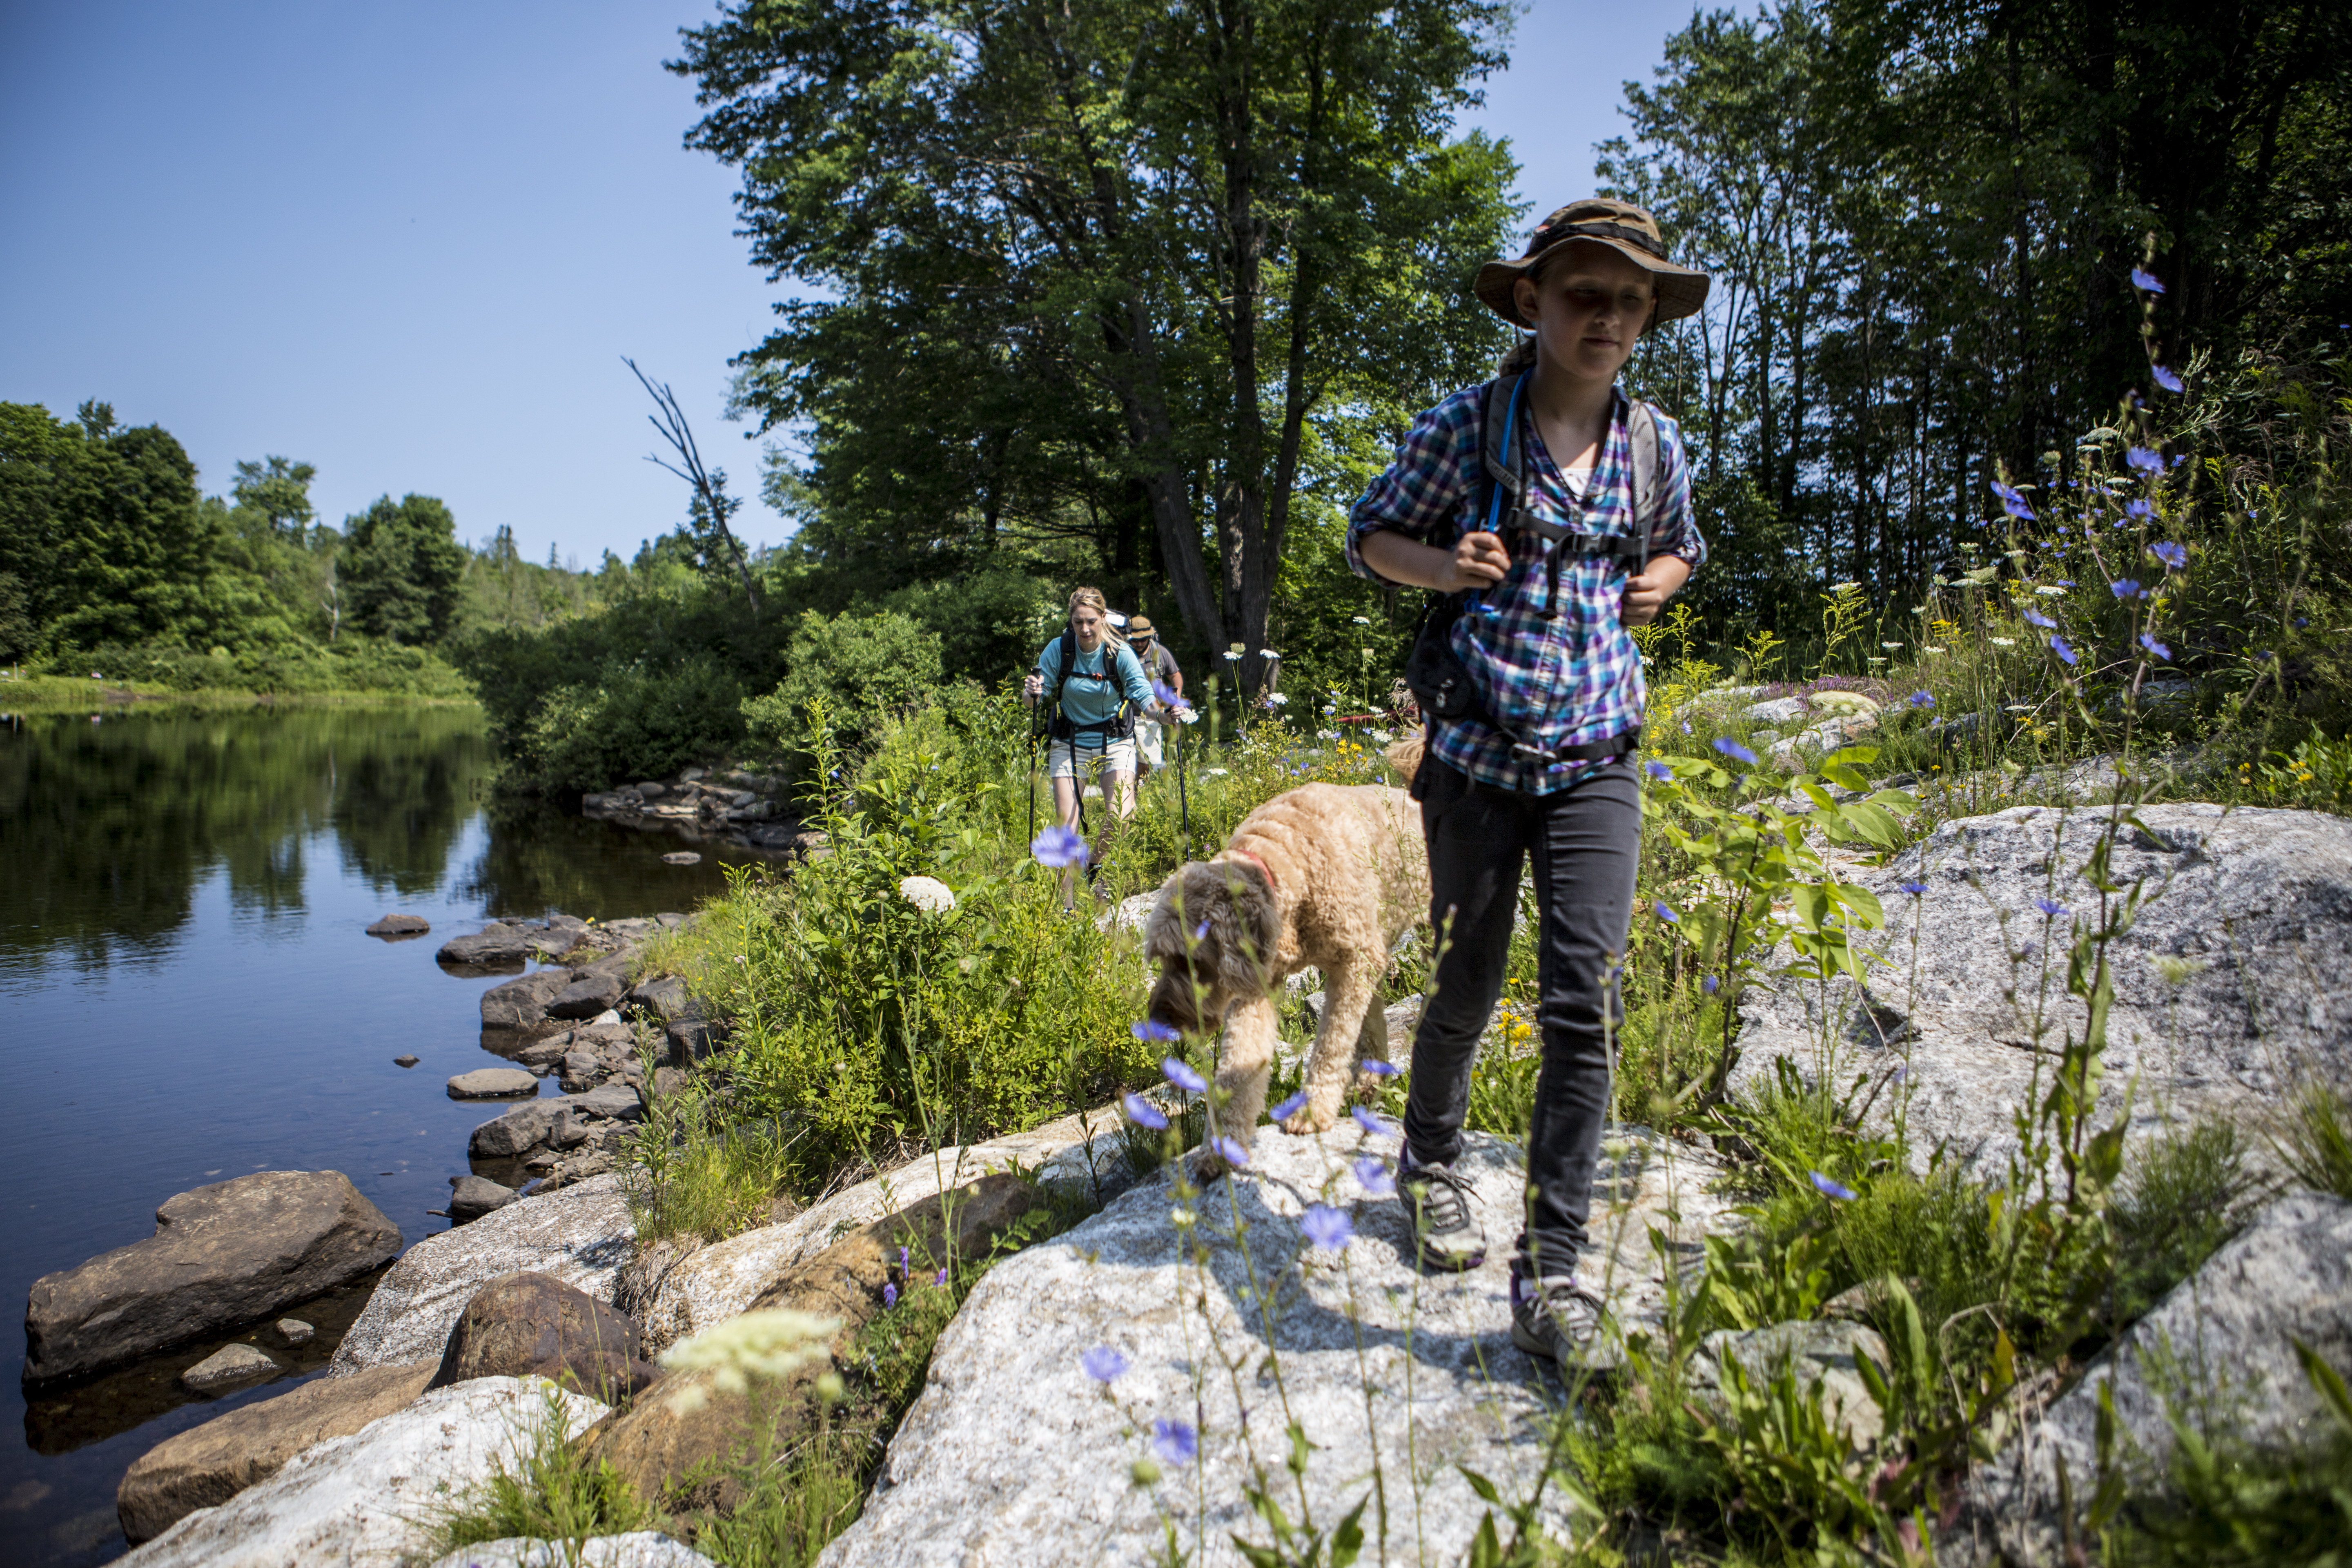
Getting there will be half the fun if you decide to dive into the primitive experience. You can go backpacking to a lean-to or tent site in a Wilderness or Wild Forest area. Your kids are probably more ready for this experience than you think! For your first trip out — keep it simple with a short hike in and short stay.
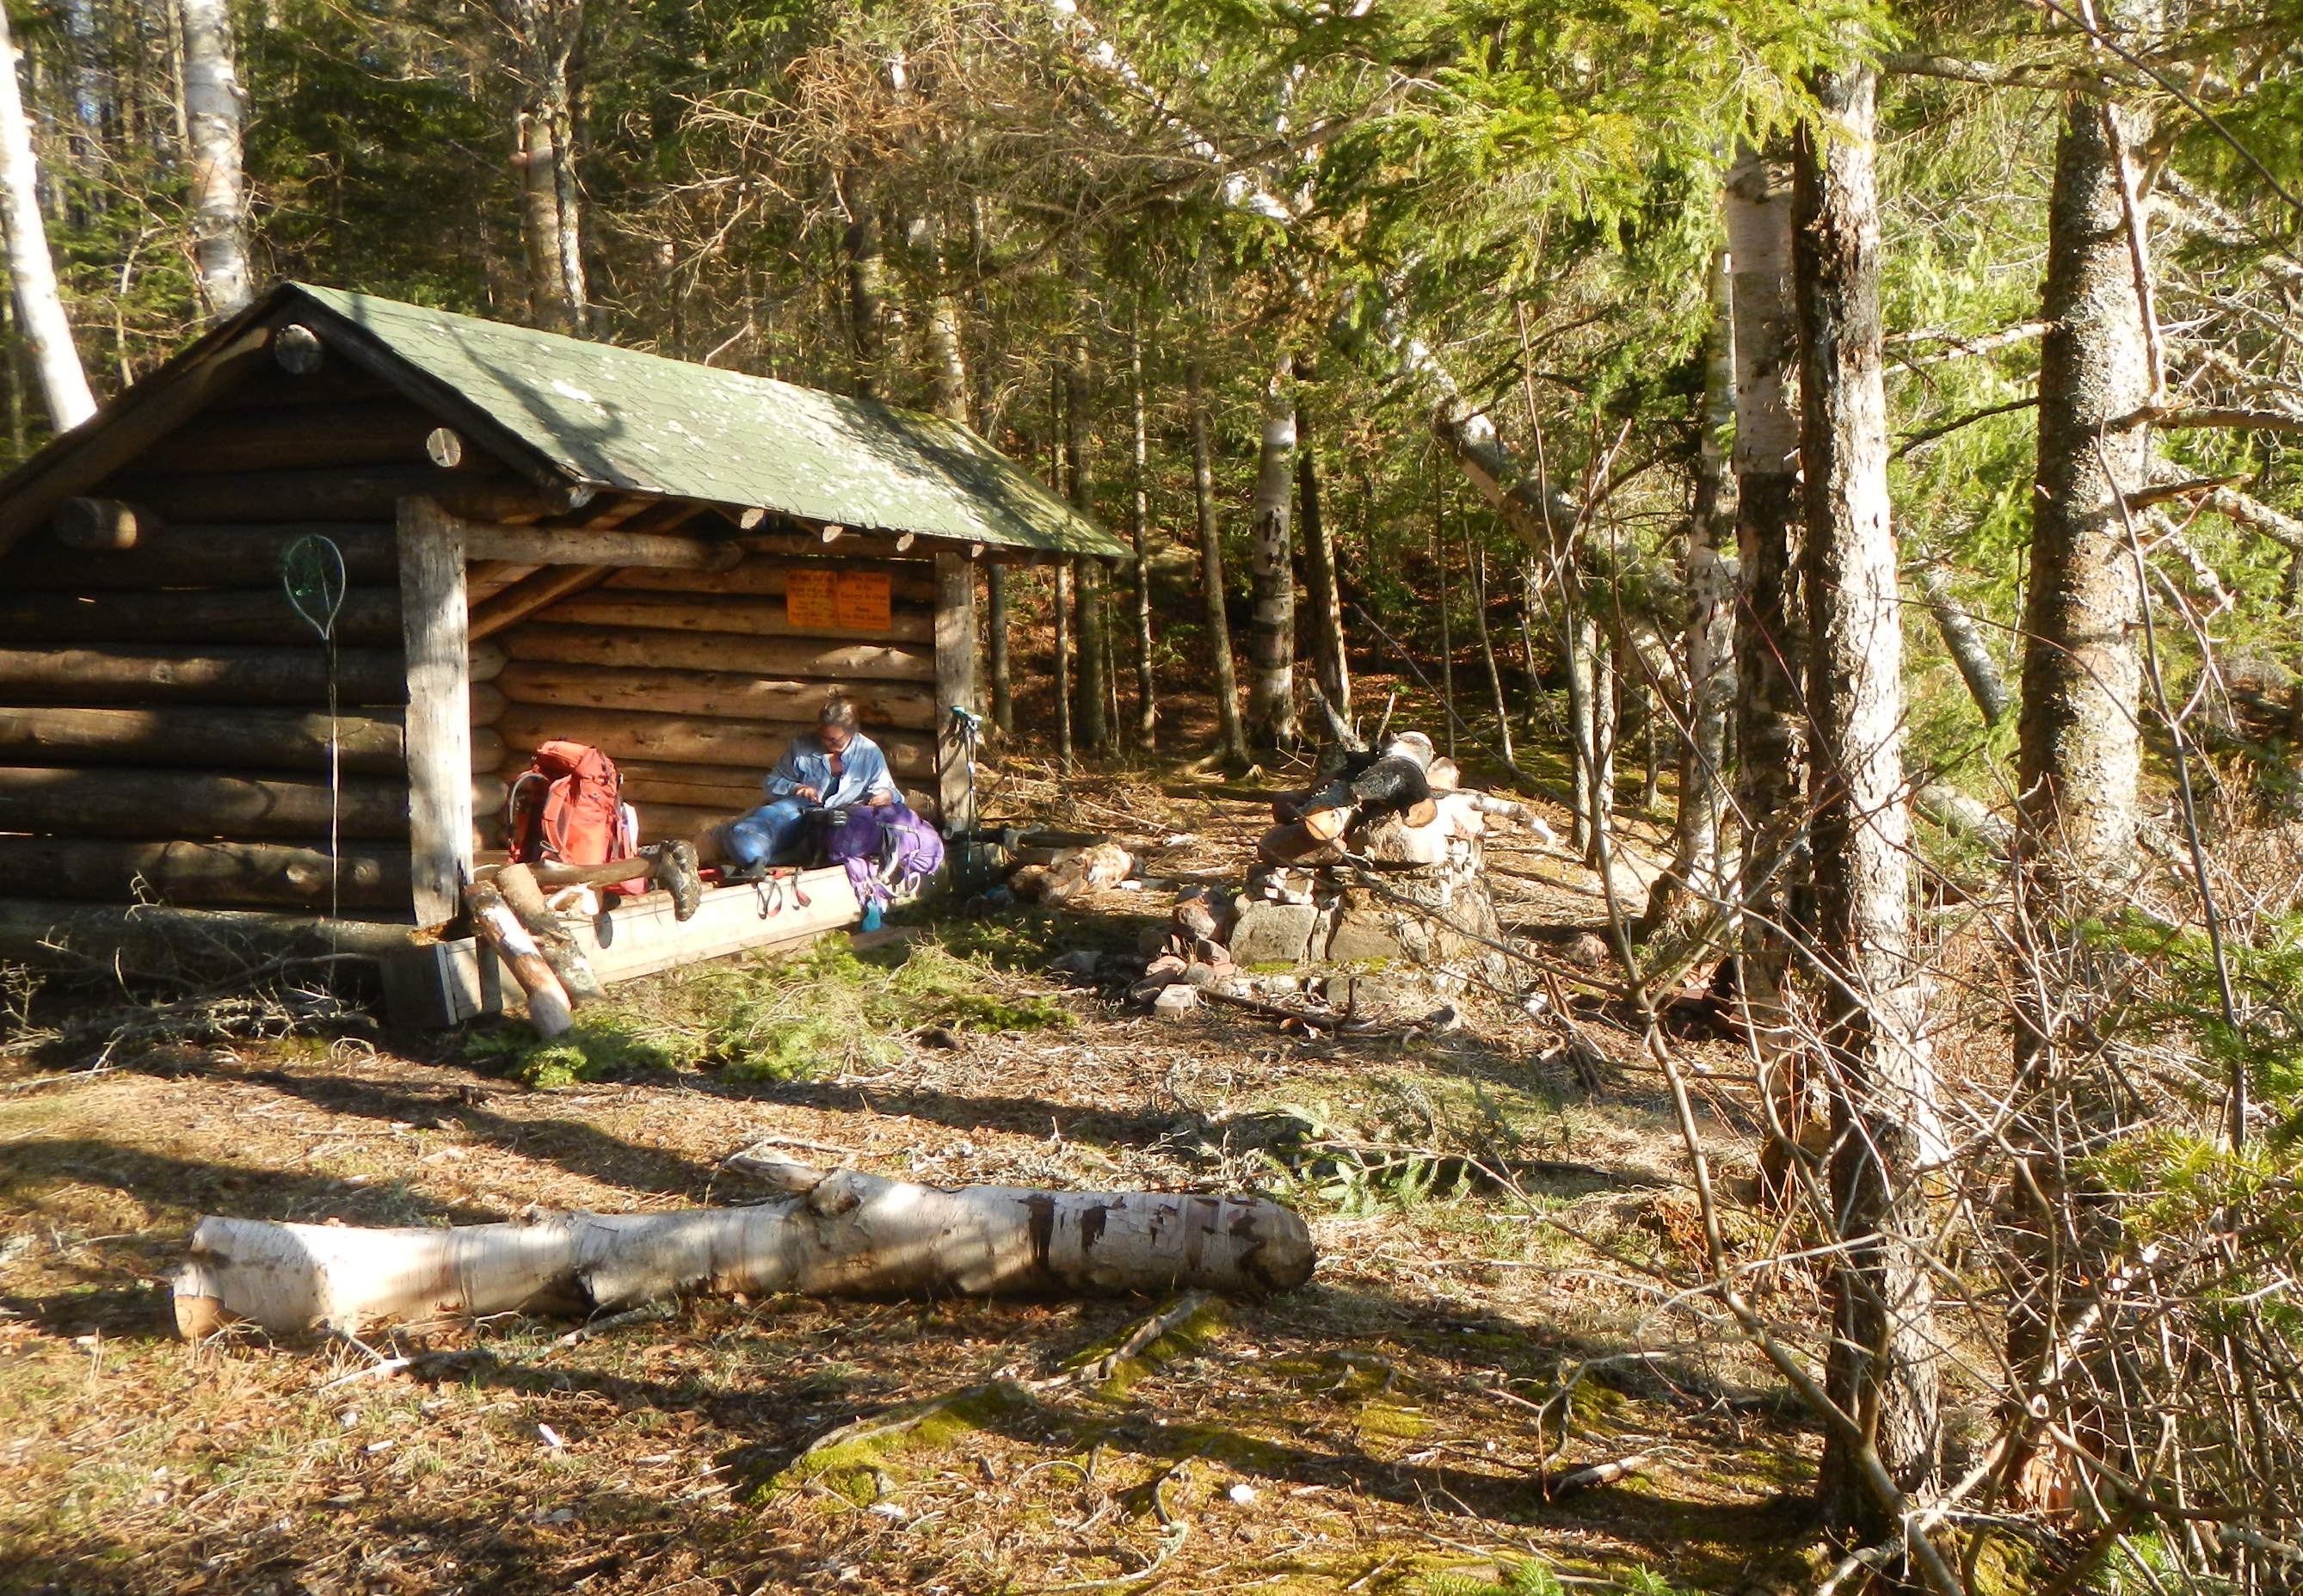
Important tips: Tents are not permitted inside lean-tos and there is no way to reserve one, but staying at a lean-to is an amazing experience! Lean-tos have fireplaces, privies, and are scattered all around the Adirondacks. Any flat, open spot in the Adirondacks is a possible tent site provided it is 150 feet from road, trail, or water. Be sure to check out the official DEC rules for primitive camping here.
Second: What are you going to do while you are there?
I have found that it’s better not to schedule too much when camping, but instead have a quiver of potential activities: hiking in the area, swimming, and exploring your camping area — this can be more exciting than you think! Sometimes we would build fairy houses with the kids, being careful not to destroy anything on the forest floor. Simply use leaves, acorn caps, and twigs to create little houses among the exposed roots of trees or around rock outcroppings.
Bring along a deck or two of cards for downtime and a lightweight frisbee or other lightweight toy if backpacking. We always bring along a book apiece. (My youngest daughter even snuck Harry Potter #8 — the hardcover edition — into her pack for a 3 mile hike to a lean-to!)
The best part of camping is what you DON’T bring — phones, computers, or any other electronic devices. So relax and enjoy the world around you!
Third: Food!
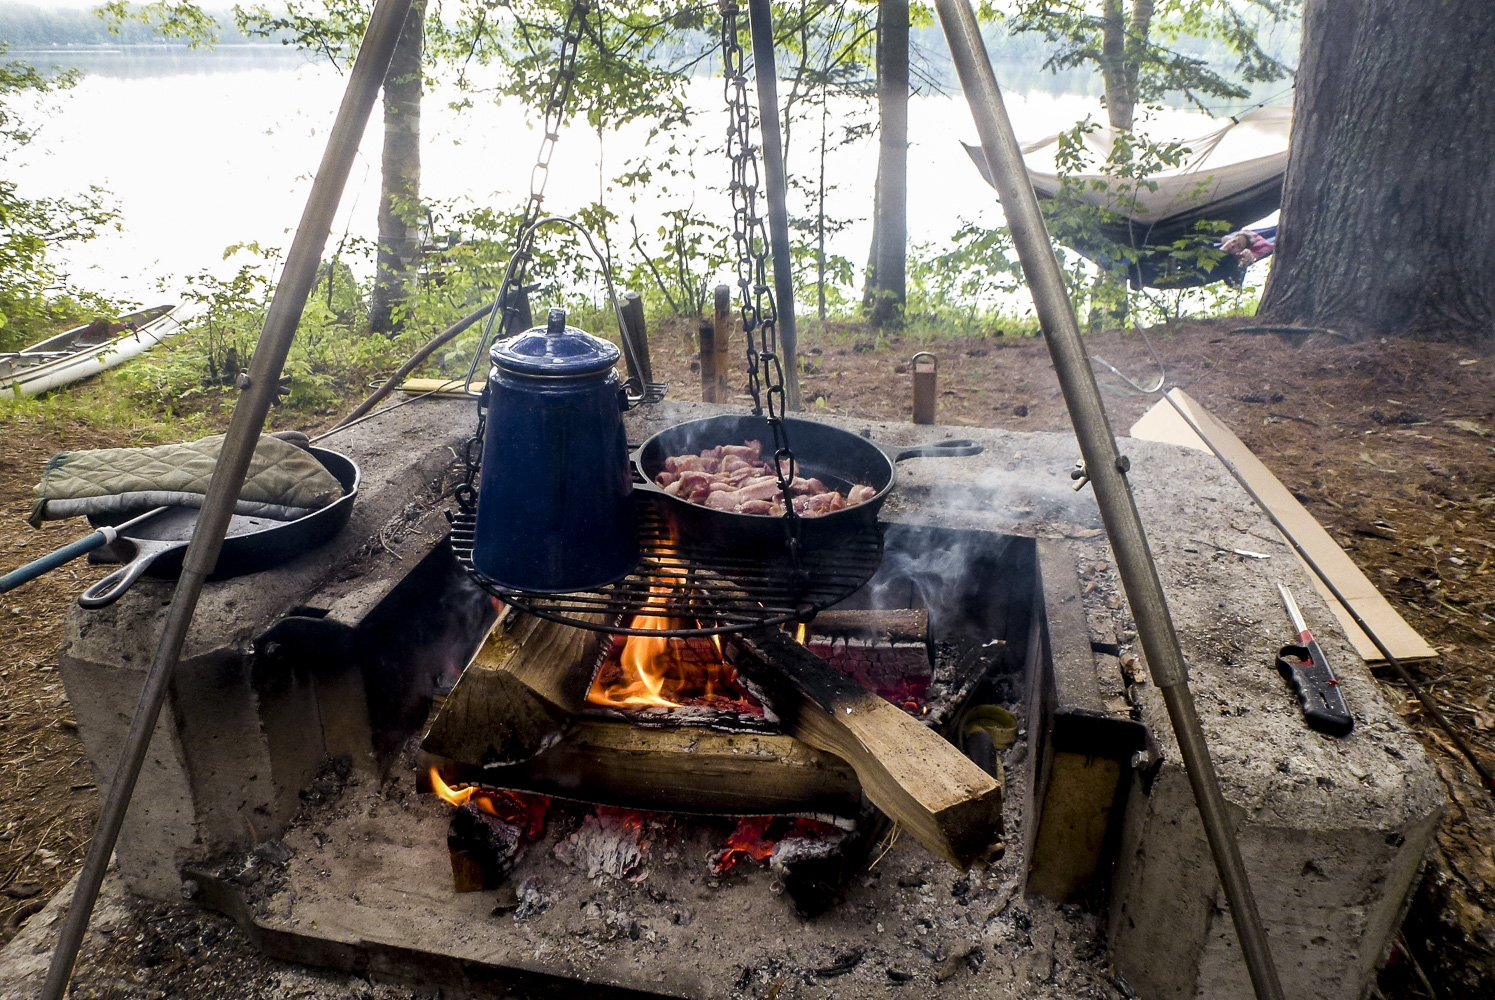
I strongly believe that with almost any activity it’s all about the food, and camping is no different. After many years, I have found that the key to a great camping trip is in the prep work. Often, I will start organizing a couple weeks ahead and toss things in the freezer until the day before we go. A number of years ago, a good friend introduced me to some great meal ideas instead of using dehydrated packages, and we haven’t looked back once! We regularly eat fresh breads, cinnamon rolls, and even sushi(!) on our camping trips. Our girls look forward to the special camping meals that come with our camping trips.
Here are a few tips to think about:
- A lightweight, flexible plastic cutting board works as a great flat, clean surface.
- Measure out and pack dry ingredients like flour, yeast, baking powder, powdered milk, and oatmeal in separate Ziploc bags. These can be divided among the backpacks.
- Someone gave us a vacuum sealer and I don’t know how I lived without it before! Vacuum seal portions or separate meals. The smaller amounts make it easier to divvy it among the packs.
- Tortillas make great sandwiches and layered dinners that can be baked over a campfire.
- Bring along a pan that can double as an oven or baking unit (we have an old outback oven).
- Bring already cooked and seasoned veggies (these can be added to a variety of meals).
- Personal snack bags: Before your trip, lay out a variety of dried fruits, nuts, and seeds in separate bowls and give everyone their own Ziploc bag. Let each person fill his or her own bag with whatever he or she wants to create their own “GORP” travel mix for the trip.
And finally...here's a recipe for a family favorite that we take on almost every camping trip.
Recipe for Backpack Cinnamon Rolls:
Prep:
- Pack about 1/2 cup flour into a separate Ziploc- — this is for rolling out dough later.
- Pre-mix 1 cup flour and about 1.5 tsp. yeast into a Ziploc bag.
- Pack a smaller Ziploc with a mixture of brown sugar, cinnamon, and raisins and tuck this into the bag with the flour and yeast.
Directions:
- Several hours before you want to start baking, pull out the small bag and set aside. Add about 1 cup filtered water to flour and yeast. Zip the bag shut and mix by squishing it over and over from the outside. You may need to open the bag several times to release air. Keep mixing until all dry ingredients have been moistened.
- Find the warmest place (on a flat rock in the sun, against someone’s belly, in a sleeping bag) and let the dough rise for about 1.5 to 2 hours. The rising time depends on how cold it is. Remember: Yeast reacts slowly in colder temps and will die if it gets above 115 degrees or so.
- Once the dough has about doubled, put a little flour on your clean hands and ooze the dough out onto your floured flexible cutting board. Push it around until it covers the board. If you have butter, coat the surface with butter as evenly as possible.
- Now get out that small bag with the brown sugar mixture. Sprinkle this mixture over the butter or just the dough if you don’t have butter. Starting from one edge, roll the dough toward the opposite edge (this will be messy but don’t worry, it will still taste great).
- Curve this roll onto the board and then cut it into 1-inch pieces. Place them on their sides in your baking pan (they will look like pinwheels).
- Bake over warm to hot coals for about 10-20 minutes. Check them often as the sugar can burn and render them inedible. I say this from personal experience.
- Brew up some coffee and devour these when they are hot and fresh from the pan!
Feel like getting back to civilization? Book a room and grab a bite to eat in one of our fantastic restaurants!


